Some cooks treat duck breast fillet like steak and they cook it rare or medium rare. In Asia, duck meat is cooked through. So, I’d say that whether the center of the fillet should be pink or not is a matter of preference.
But why duck breast? Well, if you like duck but find that a whole duck is too much for your family’s consumption, you can buy duck breast instead. It is the meatiest part of the duck after all, and, with the uniform thickness and no bones to deal with, duck breast is much easier to cook. Cooks much faster too.
The downside? It is more expensive, kilo for kilo, than a whole duck. Plus, you don’t get bones that are so good for making broth.
The following tutorial is for cooking a slab of boneless duck breast meat that begins with searing. It’s really just one method of cooking the meat. You can poach it or steam it too. If cut into smaller pieces, as for a stir fry or a stew, I cook it like I would pork or beef. The cooking time might be different but the principle is the same.
But with a slab duck breast, whole or half, I employ a different cooking method.
Searing a whole duck breast fillet
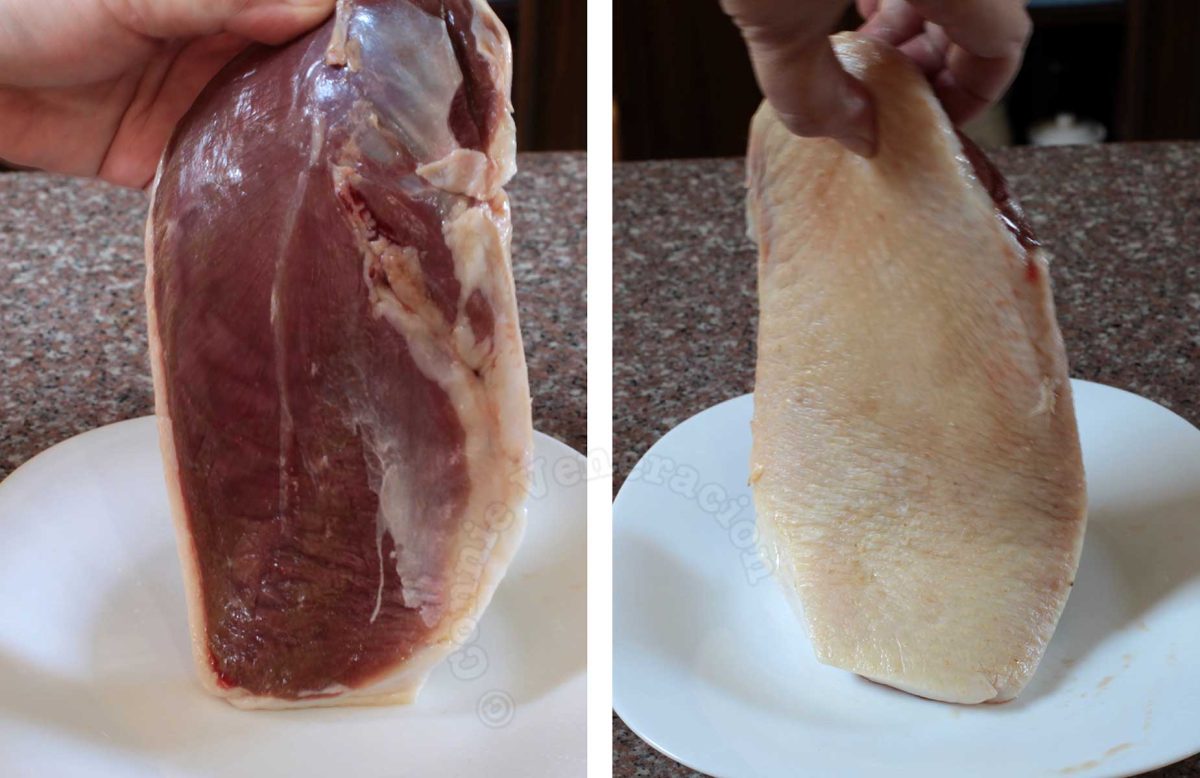
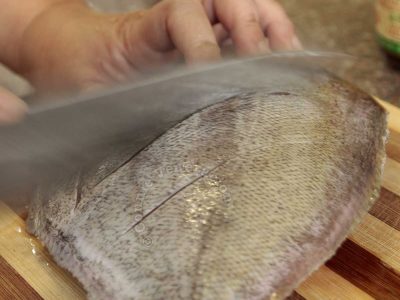
Just like chicken breast fillet, duck breast fillet has skin on one side. The opposite side which had been separated from the bone is, of course skinless.
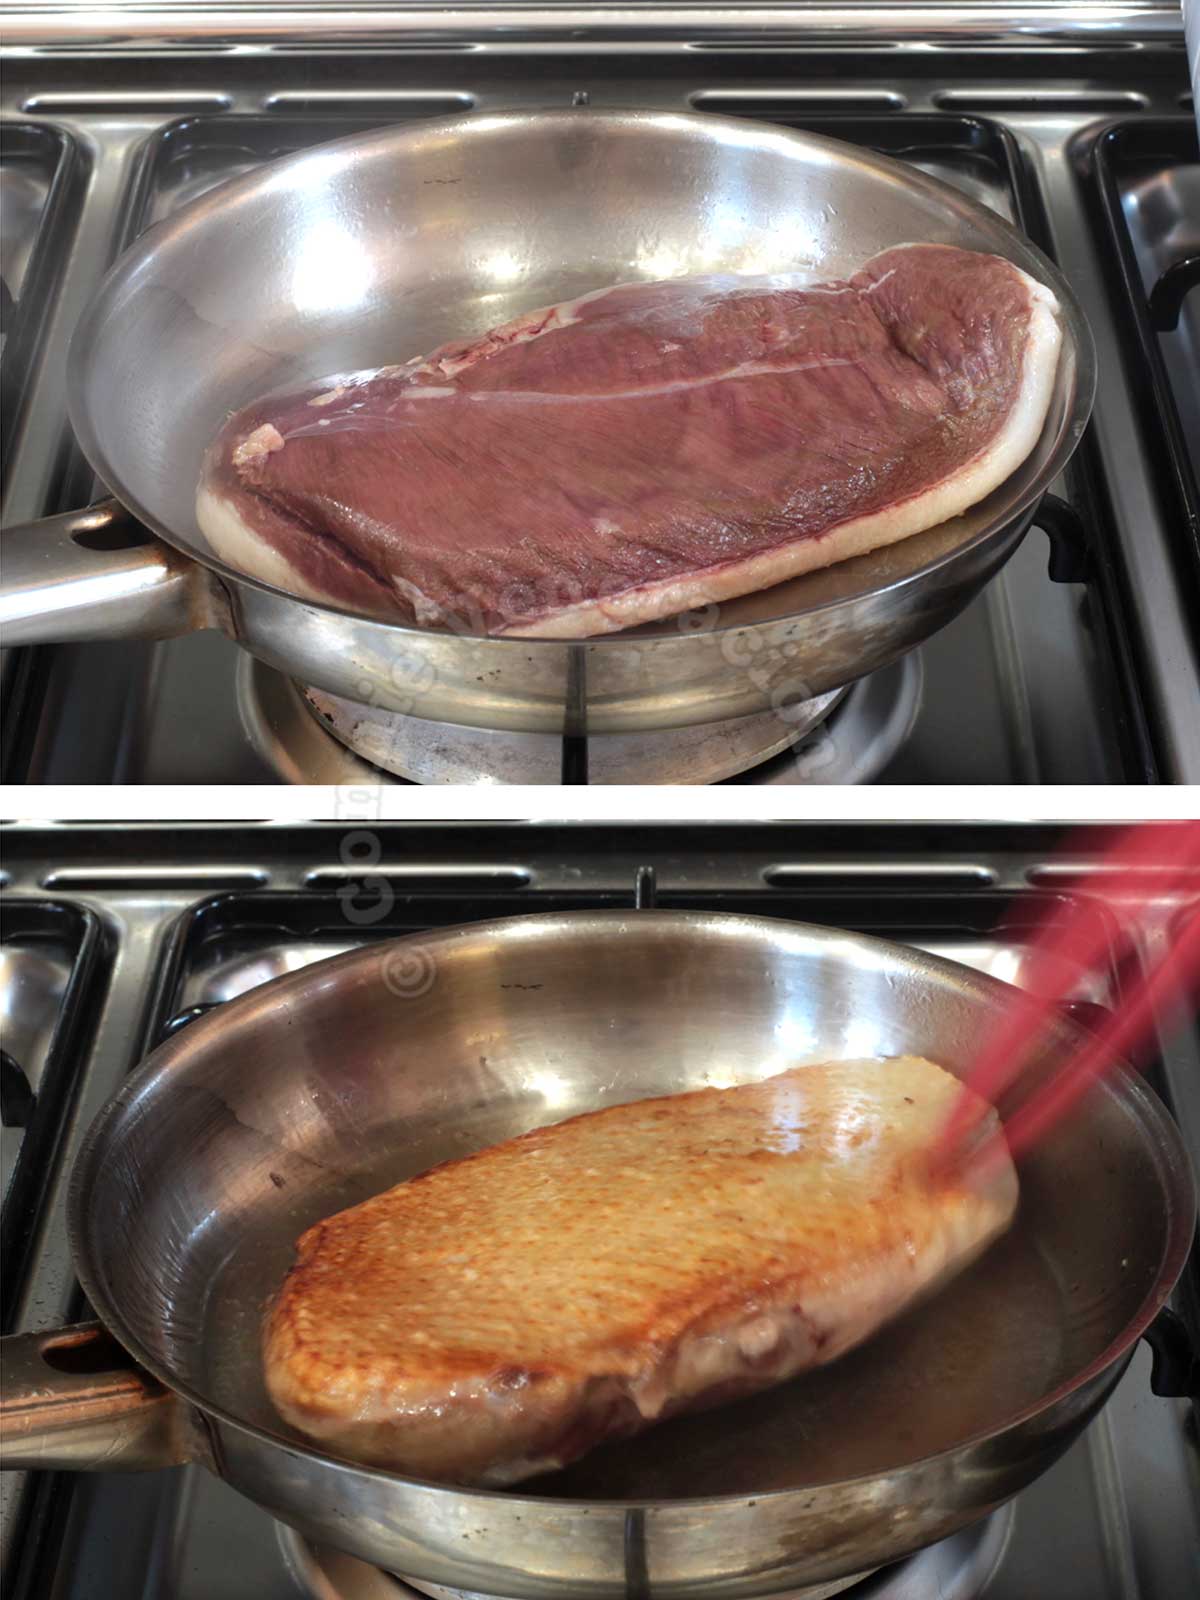
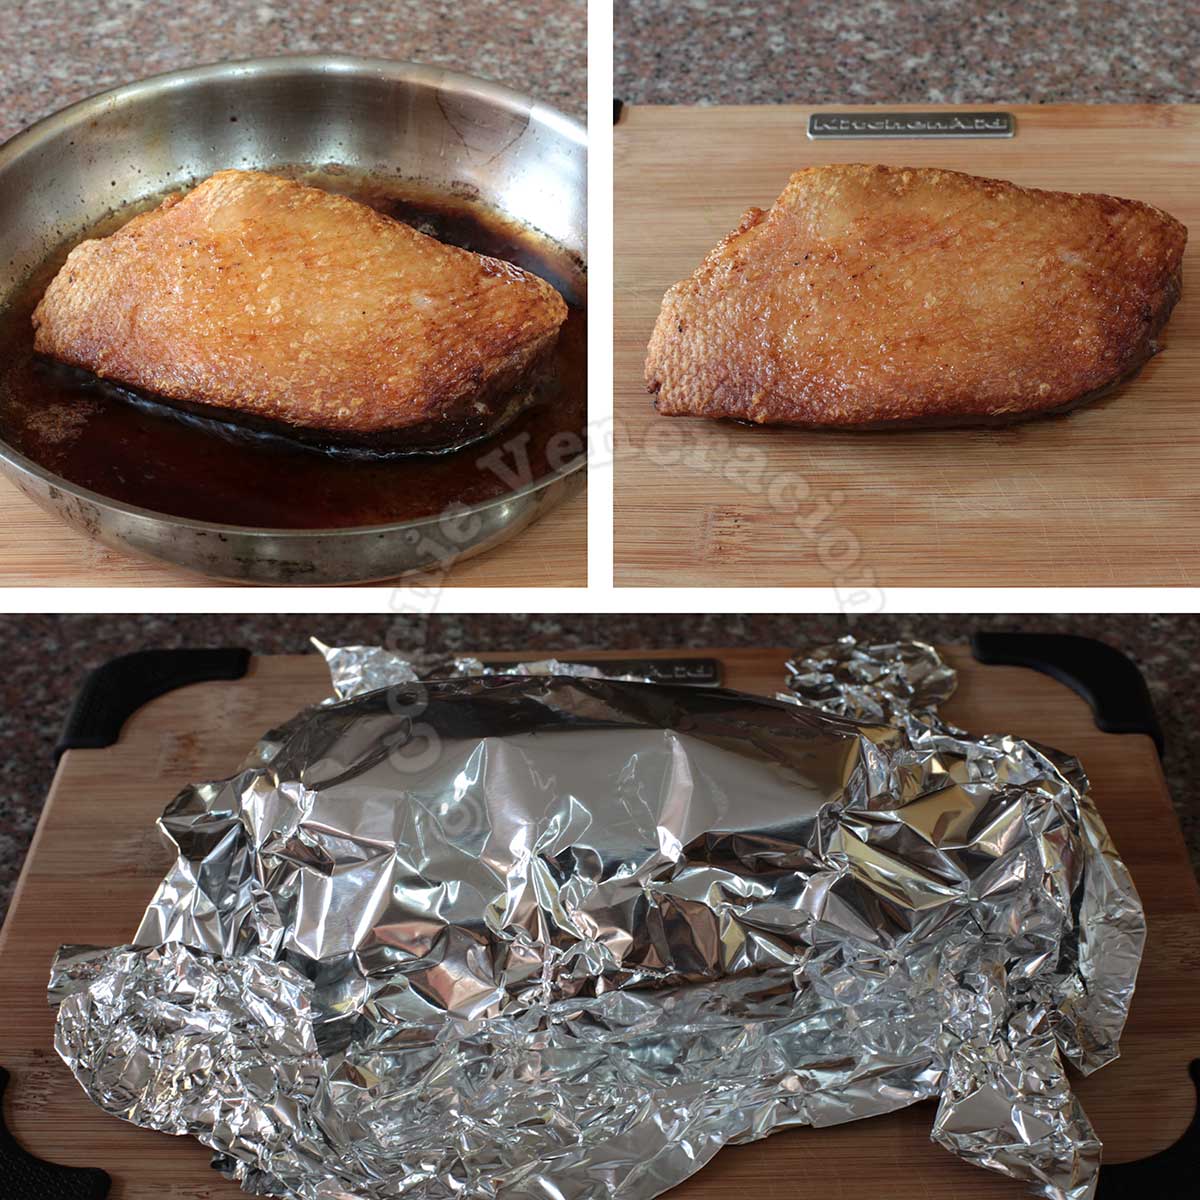
Brown the duck skin in a frying pan and let it render fat. Flip to brown the meat. What happens next depends on whether you want to cook your duck breast in dry heat or with liquid.
Braising the duck breast
Once the duck has been seared, pour off the fat in the pan and pour in whatever sauce you want to cook the duck in making sure that the liquid goes halfway up the thickness of the duck.
On the stovetop
Set the heat to low, cover the pan and let the duck cook in the sauce slowly for 20 to 40 minutes depending on the size and thickness of the breast.
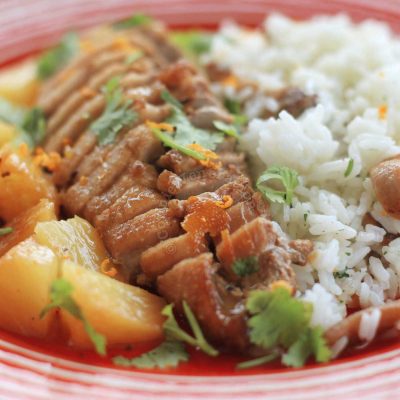
Remember to check the amount of liquid in the pan occasionally. If the liquid evaporates too fast and there’s a chance that the meat will scorch before getting cooked through, add more sauce, no more than a quarter cup each time. See the two examples below.
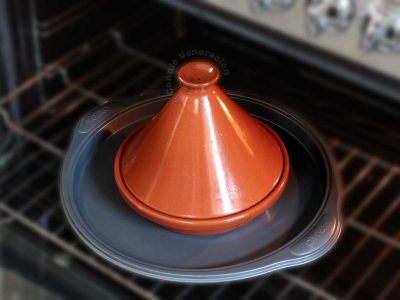
In the oven
If braising in the oven, pour off the fat first, add all the ingredients for the sauce, cover the pan and braise in a preheated 325F oven. For how long depends on the thickness of the meat. Check after 20 minutes and decide if it needs to cook longer.
Whether braising on the stovetop or in the oven, you’ll want to check the thickness of the sauce. If, by the time the duck breast is done, the sauce appears too soupy, you can always boil it down to reduce and thicken.
Roasting duck breast fillet after searing
If, instead of braising, you prefer to roast the duck breast in the oven, transfer the duck to a baking pan (or use the same frying pan if it is ovenproof) and pop into a preheated oven.
Cook at 375F for 8 to 10 minutes for medium rare, 12 to 15 minutes for just barely rare.
See how much fat has been rendered? That’s very tasty. Store it in the fridge for future use.
Lift the duck from the fat and transfer to a cutting board. It needs to rest before cutting so that the juices can have a chance to settle. If you can manage it, lay it sideways so that loss of juice is minimal.
Cover the duck with foil. Not wrap; just cover loosely. Let the duck rest for at least 10 minutes before slicing and serving.
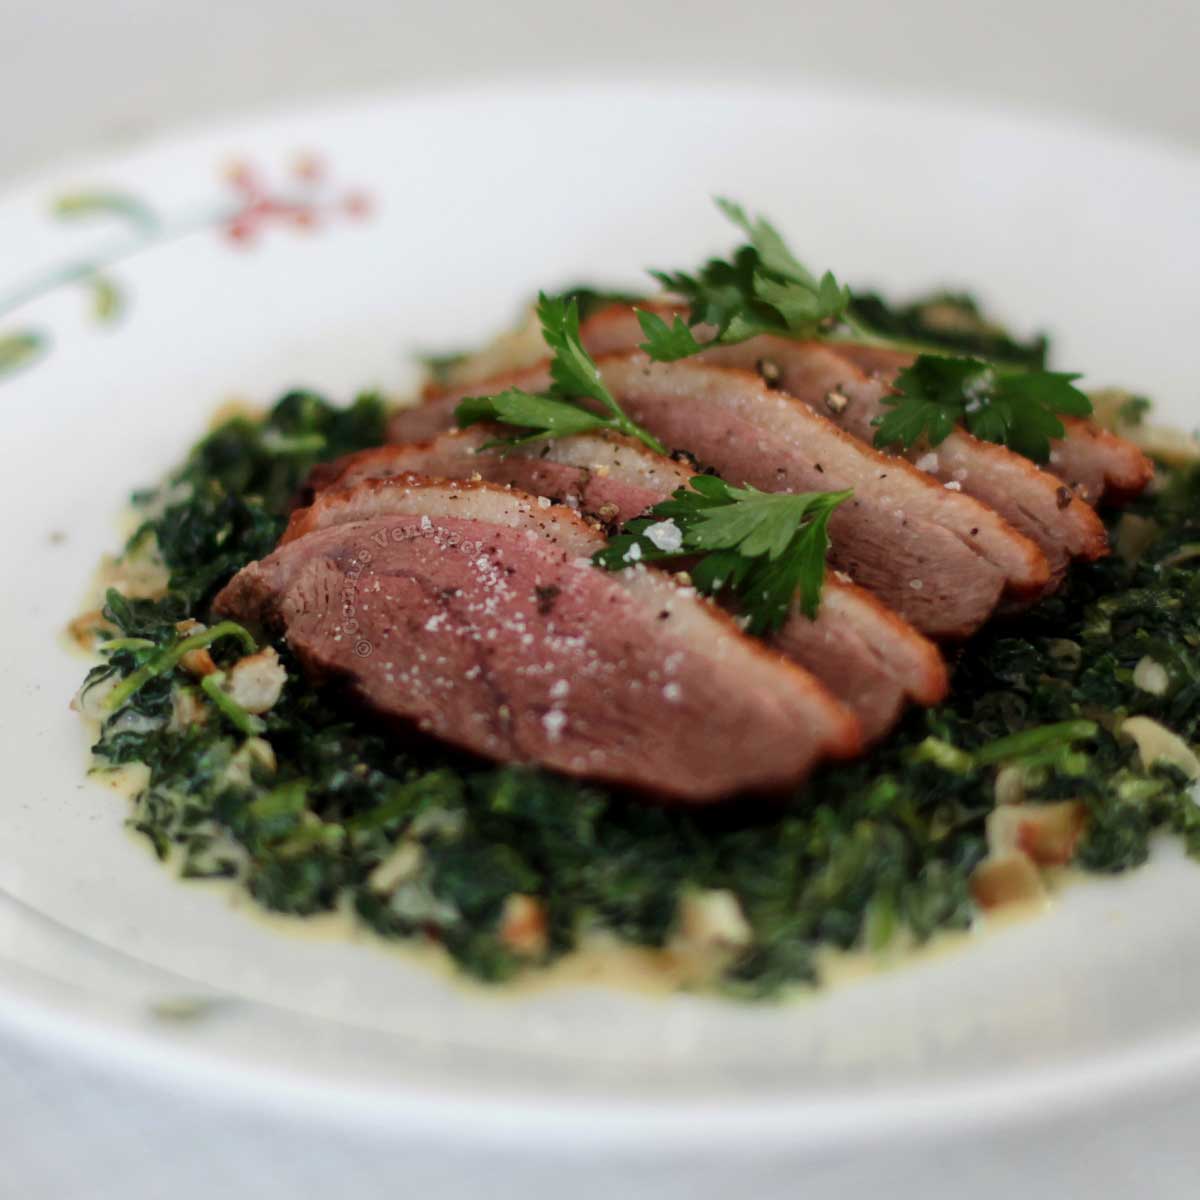
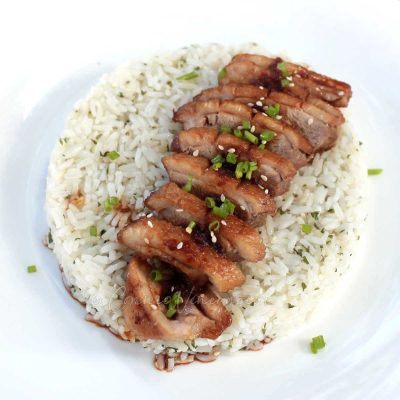
Serving suggestions for a simple roast duck breast
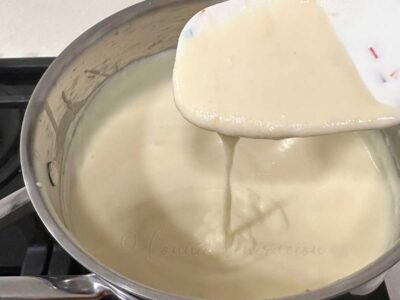
Slice the duck and serve over a bed of creamed spinach (first photo in the post: scroll up).
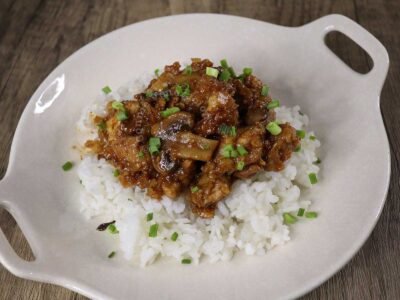
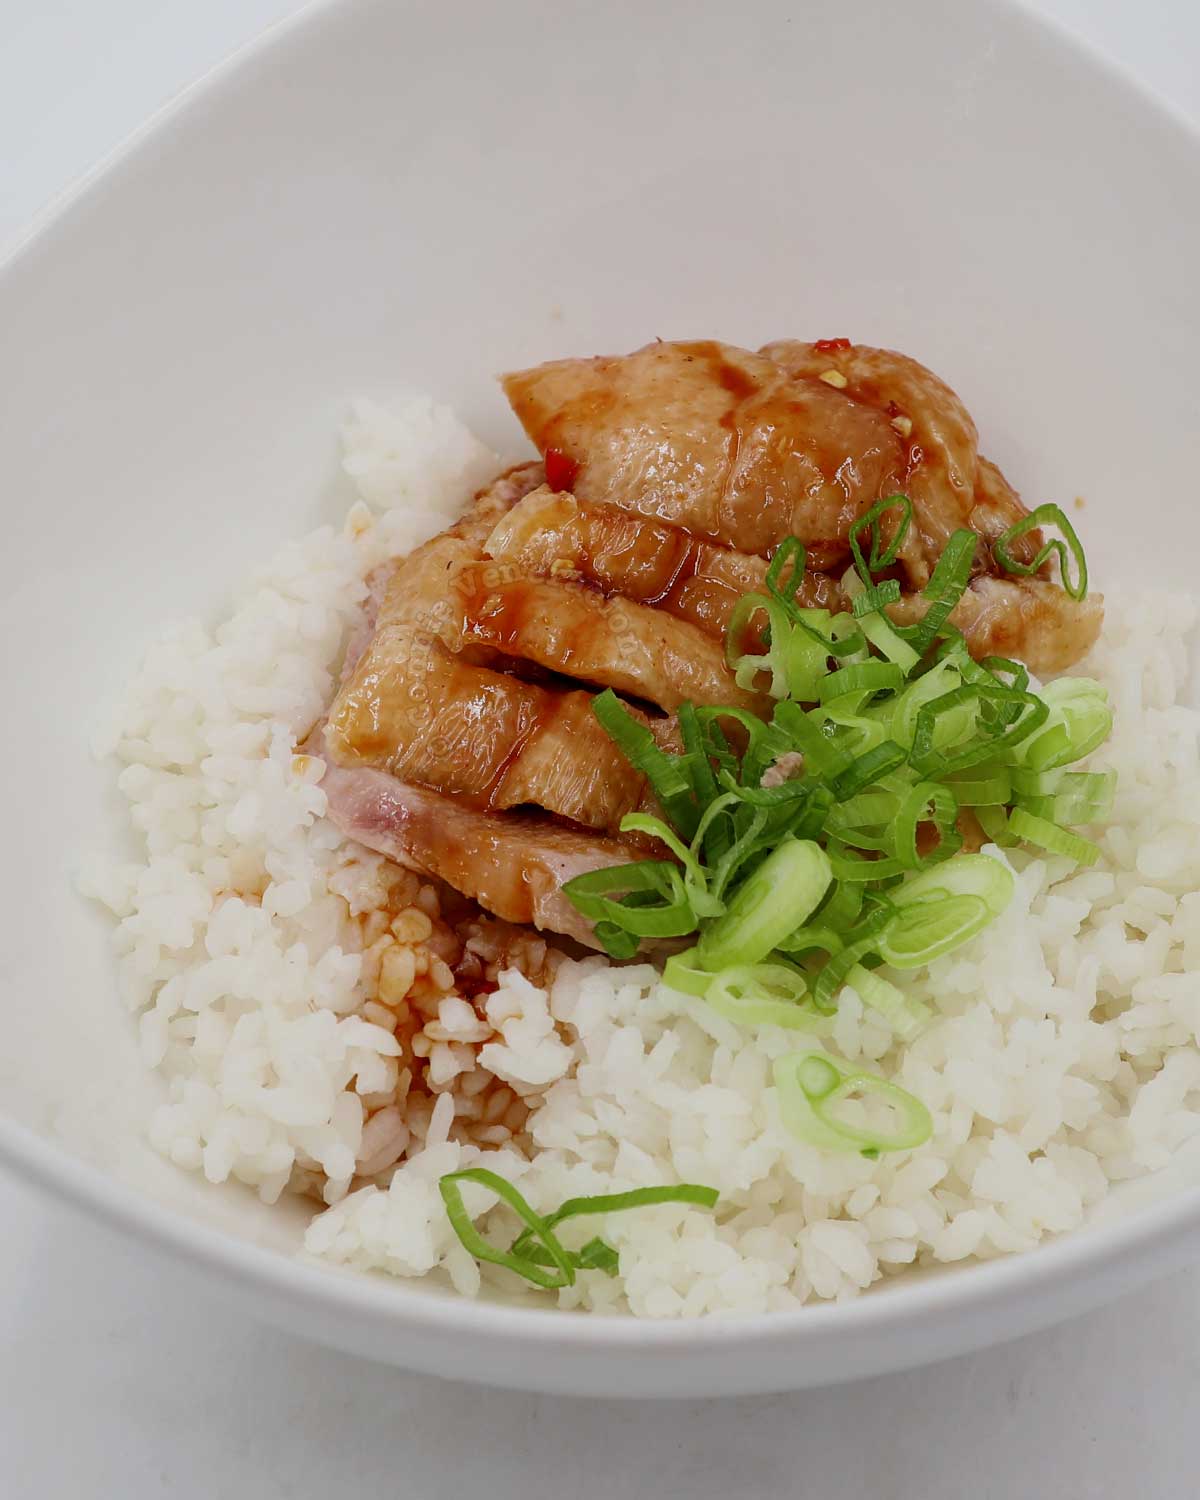
Or, while the duck rests, stir together two tablespoons soy sauce, two tablespoons chili garlic sauce (available in the Asian section of groceries and supermarkets), one tablespoon honey and one tablespoon rice vinegar.
Ladle rice into a bowl, slice the toast duck breast and arrange on top, drizzle in the sauce and garnish with sliced scallions.